So I like many people have many overlapping likes, I like sci-fi, fantasy, Disney, and tiki (big surprise on the last one). Depending on who you talk too about tiki there are some strong stances on what is and what isn’t tiki. I look at it this way,
A. Probably the most important item, it can’t be CHEESY
B. Pirates while cool, they are apart of tiki but not the first part, and even then only aspects of pirates are welcome, and it has to follow rule A.
C. While drinking is a big part of tiki, it shouldn’t be the primary focus. Have a good time but don’t use it to get drunk!
D. Tiki is what you make it and it has to be something that makes you happy given that A. B. And C. Are followed.
That having been said when I started building The Lava Hut I had a few ideas of what I wanted it to look like (with in my budget). Following rule B. the few things that are accepted (for my bar) that I had in mind were RUM and TREASURE CHESTS.
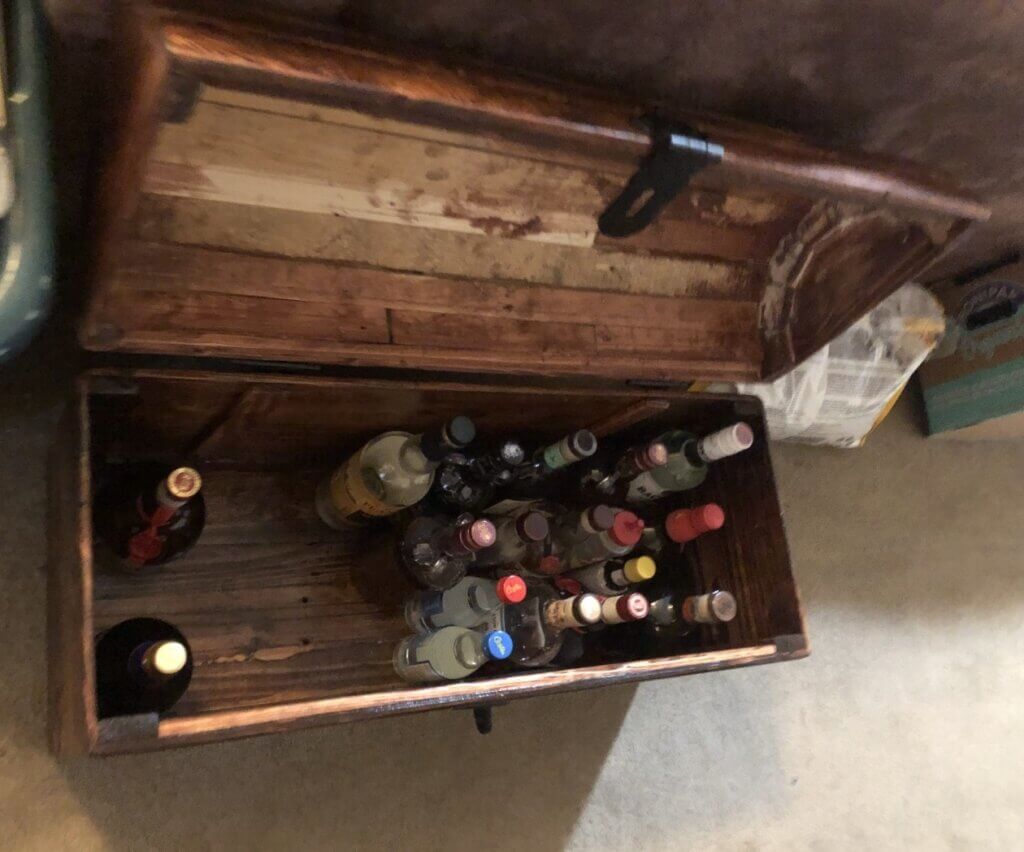
Now I like to think I am pretty handy with my hands and after building the hut there was a lot of scrap wood from the pallets that I used. So I decided as I started learning about more about the tiki culture and the drinks I liked I realized I needed to a place to hold all the ingredients that didn’t require being refrigerated. So why not a pirate treasure chest, and while I could buy something on Etsy or other similar websites, I like the idea of using what I have on hand first (plus I am cheap). So I have loads of wood and the tools to “mold” the wood to my will… (yeah I am the mast of my domain, yeah it’s the backyard at my house but that not the point). What do I still need?
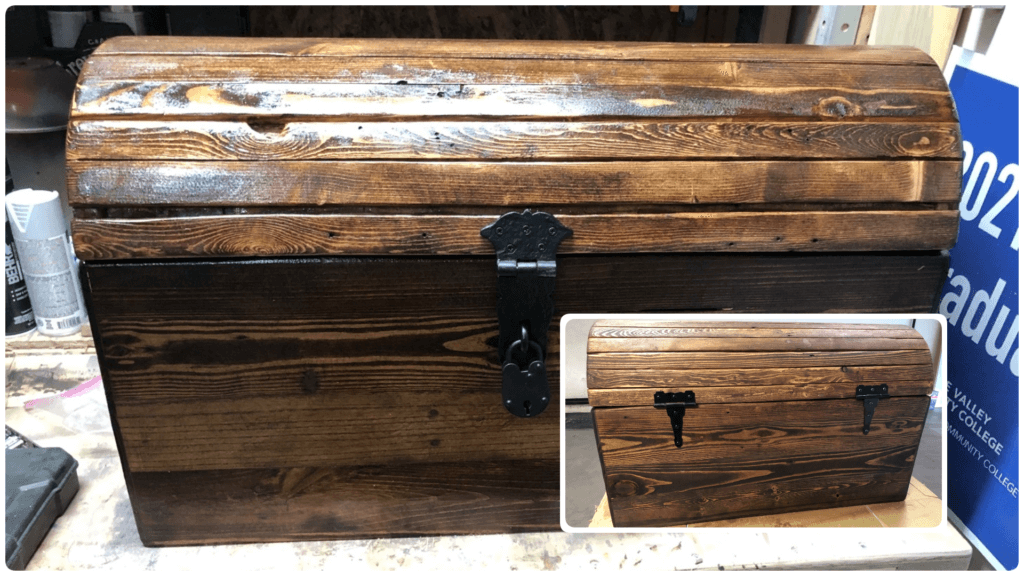
Well what makes a wooden box a pirate chest? Well obviously the general contours of the box, and the style of the hardware (the metal bits) and well to finish of the loop properly it has to have the right kind of lock, you know that vintage brass clunky with the skeleton style of key.
Well I did some digging on Amazon, and found all the right parts. Yay the internet saves the time and effort of driving all over town looking for parts!! I’ll have links below if you like what I ordered. (Not sponsored)
I would like to say I had plans that I followed with precise measurements and a general plan of what to do…. I DID NOT!!
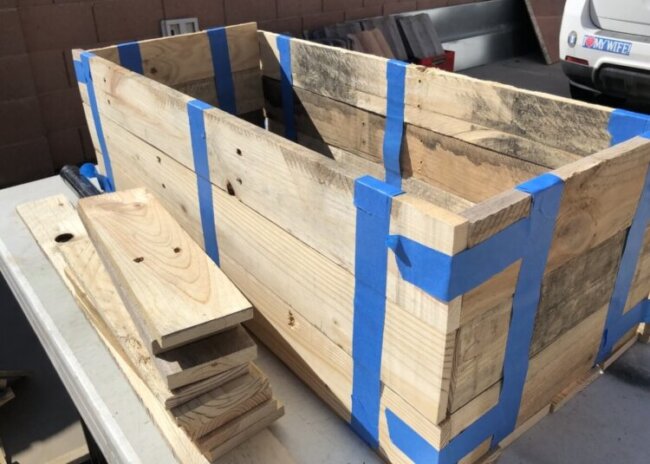
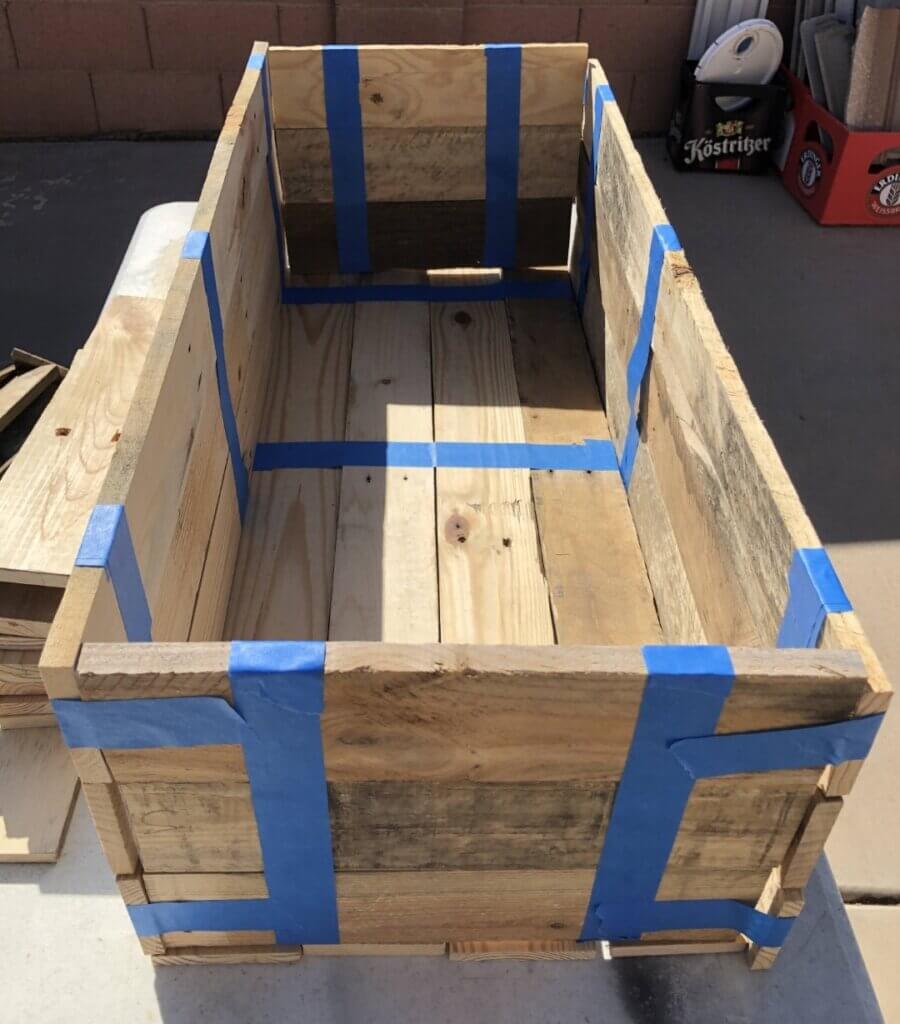
I had a simple plan kind of , but I figured I would figure it out as I go. I started with the biggest pieces of wood and determined what the width should be based on the most common length. I then determined the width based on what looked right, I honestly just eye balled it and when with what looked right size wise. You know when you look at something and it just looks right, well that’s what I did. I then went and grabbed the tallest bottle that would go in the chest and used that as the guide for the height. Thank God I used the blue tape to get the general look of it, when I put it together to account for the tallest bottle I didn’t think to account for the lid.. its not a crate or a box its a rum chest, so I backed off a few pieces of wood for the height and guessed how tall the lid should be (its round so I just guessed)
Since all the wood is pallet wood I needed to now clean everything up and make sure everything is basically the same thickness.
LOTS OF NOISE (The Wood Planer)
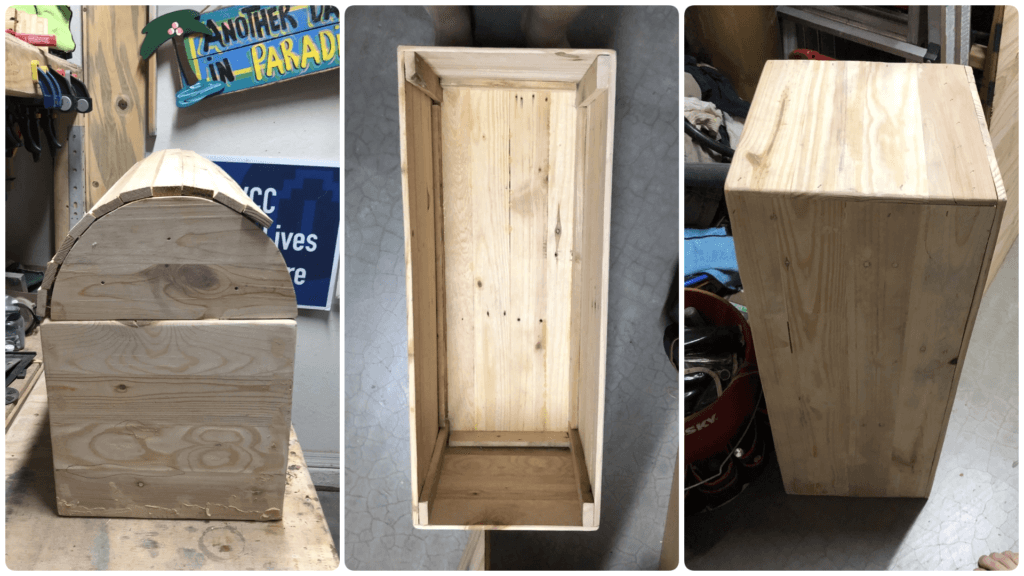
I cut some pieces in the rounded shape for the sides of the lid and wider pieces to thinner pieces to be used as the pieces of the lid. Looking back I wish I had taken the time to cut the sides at varying angles instead of the squared pieces of wood I used, it would have made assembly easier for the lid. Live and Learn right?!?!
Ok now that I have planed all the wood and cut everything to the correct measurements time to assemble
Tools Required
1. Nail Gun
2. Glue
3. Wood Filler
4. Sanding blocks
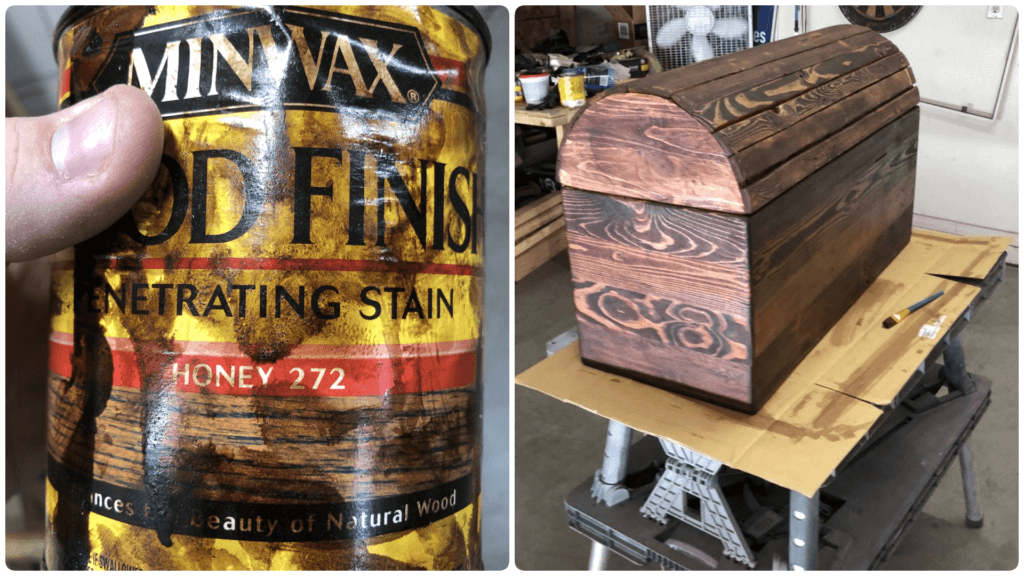
Now that I have it assembled and test fit all the metal hardware time to stain the wood and seal it. Luckily I have had multiple projects that I have done before that have had left overs and I had multiple wood stains to choose from. HONEY 272 was one that I have used multiple times, its dark but not so dark it covers the wood grain. and combined multiple cans of left over clear varnish to protect the wood inside and out.
I called this post “Weekend Project” but I should have called it “Multiple Weekend Project” between the time it took to loose assemble everything, plane the wood, assemble the wood, sand the wood, let everything dry, and then finally let the smell dissipate enough that it wouldn’t make anyone dizzy this project took pretty much a month to complete, (granted I only worked a few hours at a time so it’s not like it was an all day situation.)
Links (Not Sponsored)
Hinges (What I used is not available any more) – https://a.co/d/0Gd2F5K
Lid support – https://a.co/d/e9LDyo5
Locking Hardware – https://a.co/d/5FXZ1Us
Lock – https://a.co/d/4HDfTqz
Wood Stain – https://a.co/d/hoAwrN7